


Introduction
Many times while working on software projects or web apps you may have come across the requirement of hosting files such as images, pdf, audio, or video files. The usual solution is to upload and save files on the HDD of the application server. While this approach suffices our requirement but it has some limitations such as allocation of extra space for files and scaling issues. The better alternative to this approach is to use the storage services provided by the cloud providers like AWS S3, Azure blob storage, Google Cloud Storage. In this article, we will explore AWS S3 and how to use it to upload files using node.js
Quick look at S3
S3 or Simple Storage Service is a cloud-based object storage service provided by AWS where we can host any no of files.
Prerequisite
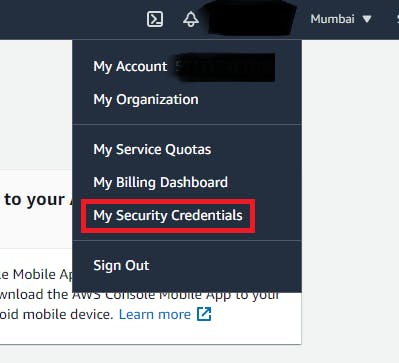
To use s3 you need to have an AWS account. If you don't have it, create a new account. To make programmatic calls to AWS you need an access key ID and secret access key. To generate the same login to your AWS Management Console. Click on the username and select => My Security Credentials
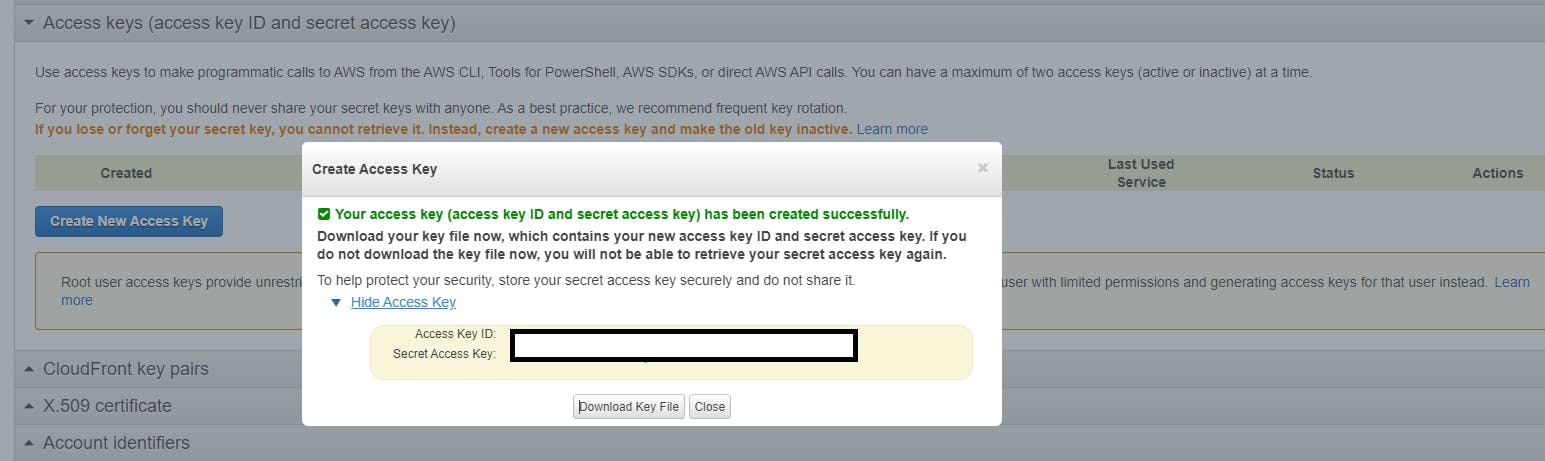
Then Select ->Access keys (access key ID and secret access key)->Create New Access Key This will create the required keys, you can download or copy the same.
Create S3 bucket
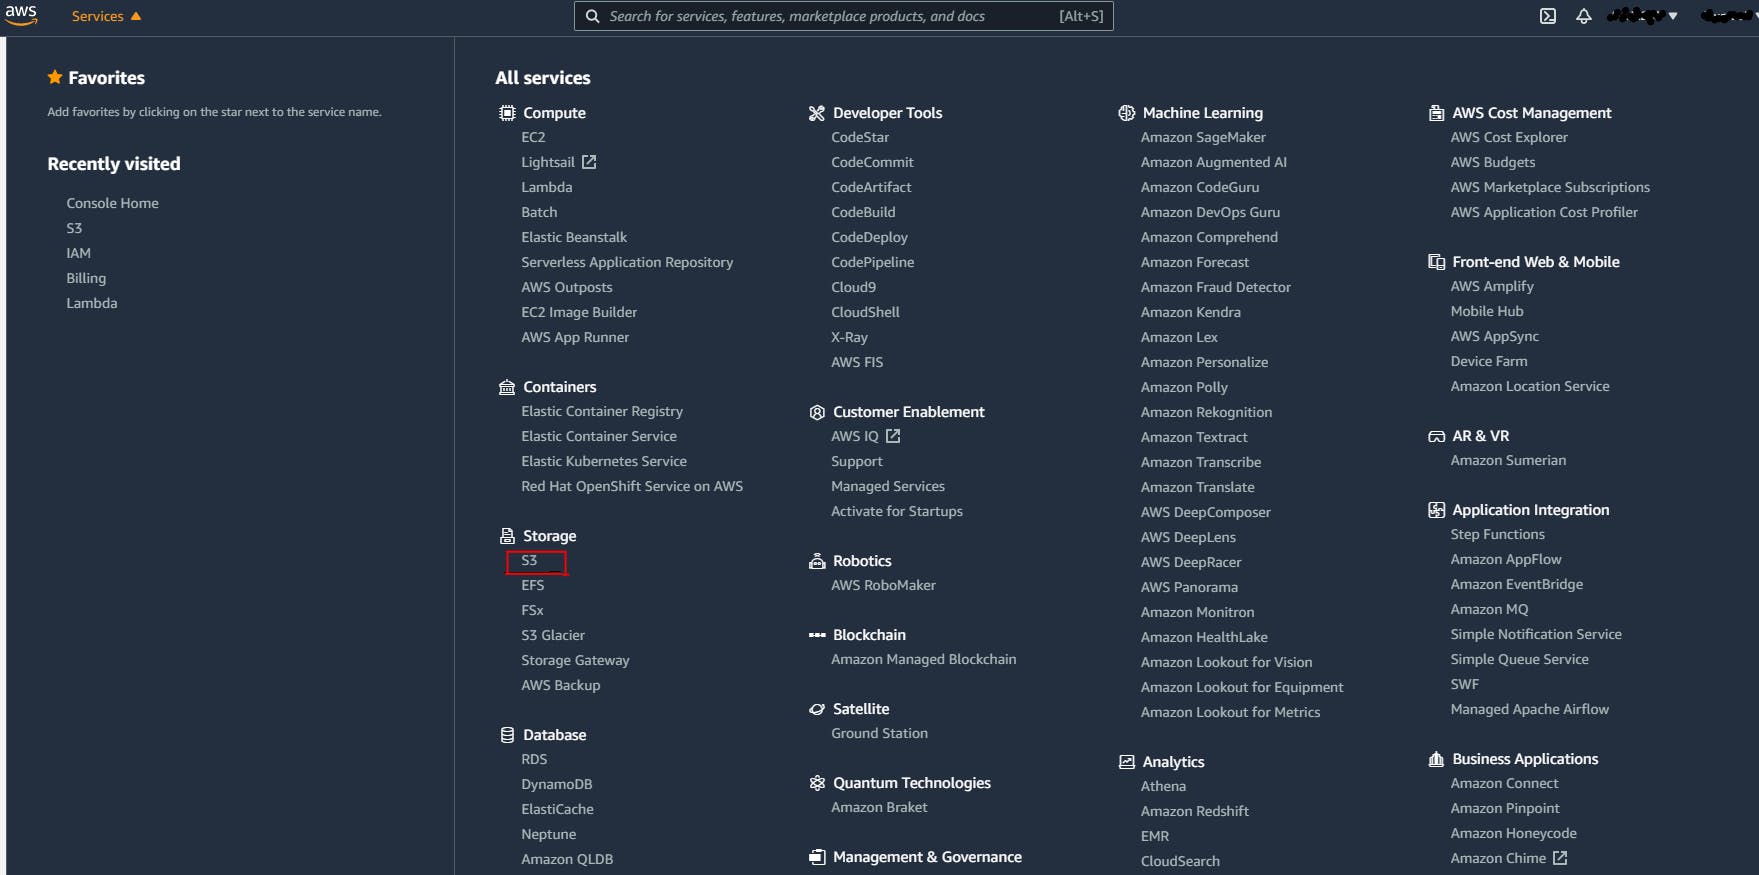
Now let's create an S3 bucket to store files. To do so go to the Services menu and Select S3 under the Storage section or you can search from the search bar
Now Click on Create bucket button
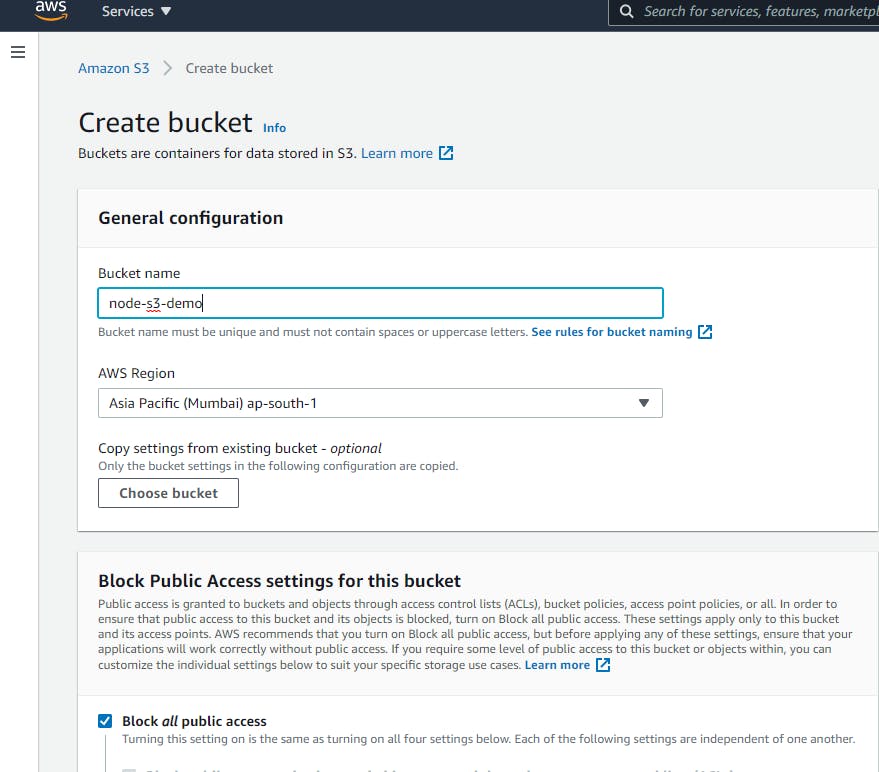
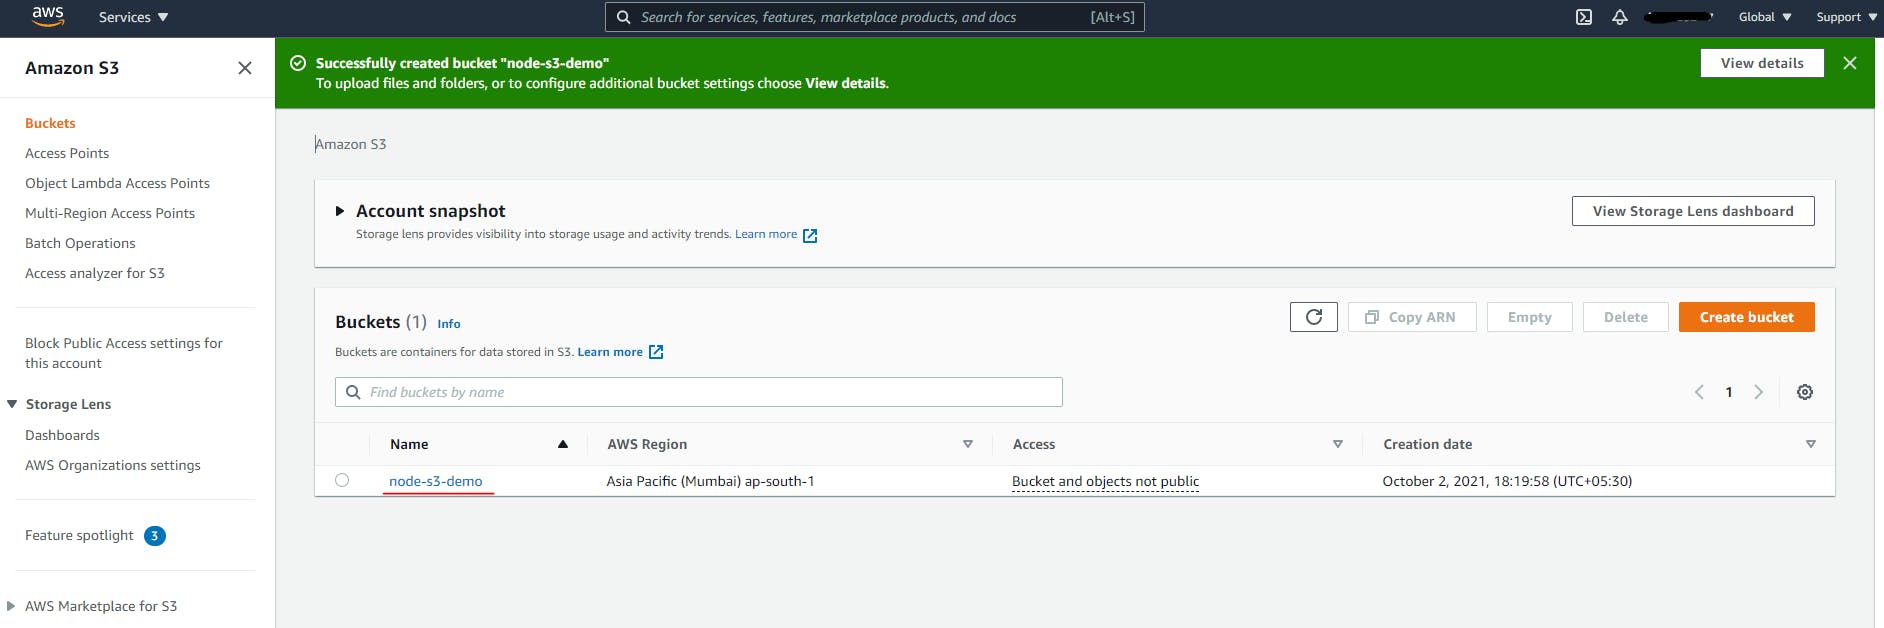
Enter the name of the bucket and select the AWS region. Also, go through other options to configure as per your needs. Finally, click on Create bucket button. You will see the below confirmation and your S3 bucket is ready to use.
Implementation
For simplicity we will divide the implementation into two parts in the first part we will create a new node js project, create an API to upload files using multer middleware. In the later part, we will connect to our AWS S3 bucket and upload the file on it.
Now let's set up a new node js project. To do so open Powershell or git bash terminal and navigate to the desired directory and issue the below command
npm init
Go through the options and enter details. Open the current folder in VS Code. Now we will create an HTTP server using express.js for that, we need an express.js module, let's install it
npm install --save express
Now create a new file under the root folder and name it index.js
const express = require('express');
const app      = express();
const PORT     = 3000;

app.listen(PORT, () => {
    console.log(`Server is up and running on Port ${PORT}`);
})
To start the server open a new terminal in VS code and run the command
node index.js
This will print Server is up and running on Port 3000 on the terminal console.
Create upload API with Multer
Now we will create an API to upload a file with the help of Multer middleware. Install multer
npm install --save multer
Import multer package, then initialize storage class and multer object
const multer = require('multer')
const storage = multer.memoryStorage()
const upload = multer({ storage: storage }).single('file')
Now create an upload API endpoint to parse the file
app.post('/upload', upload, (req, res) => {
    let fileName = req.file.originalname;
    res.status(200).send(fileName)
})
We will test this endpoint with Postman. Run the application node index.js open Postman client. Create a new Post request, Enter URL localhost:3000/upload Select Body and form-data, Enter key as file and select type as File
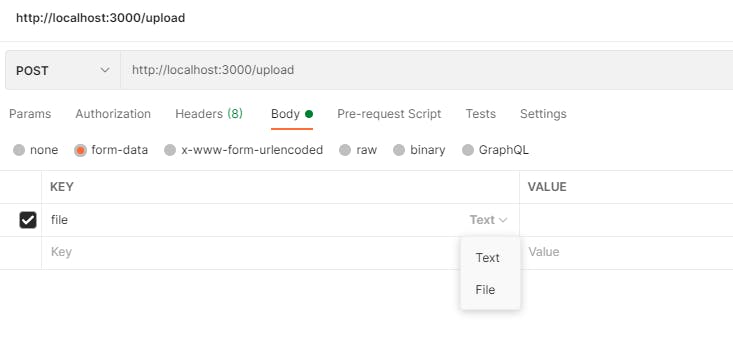
Click on the Select Files button to browse the file. Select any file and send the request. You will get standard HTTP success with a selected file name in response. So far our API working as expected.
Connect to AWS-S3 bucket
Now let's access the AWS S3 bucket and upload the file on it. We need aws-sdk to access the S3 bucket.
npm install --save aws-sdk
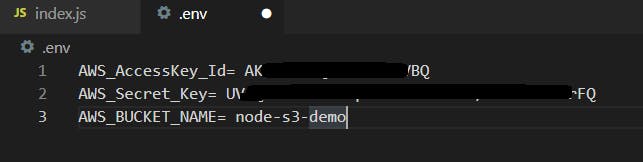
To connect to the S3 bucket we have created earlier we need the AWSAccessKeyId and AWSSecretKey. We will read this info from the env file. So create a .env file in the root folder of your project and add your keys.
To load environment variables from a .env file into process.env let's add another module called dotenv
npm install dotenv
import dotenv in index.js require('dotenv/config')
Create S3 object
const s3 = new AWS.S3({
    accessKeyId:process.env.AWS_AccessKey_Id,
    secretAccessKey:process.env.AWS_Secret_Key
})
Now in the final part let's call the upload function, this function needs few parameters like the Name of the bucket, Key will be the name used to save file on S3, Body is the content of the file.
const params ={
    Bucket : process.env.AWS_BUCKET_NAME,
    Key : fileName,
    Body : req.file.buffer
}
So here is the final upload API will look like
app.post('/upload', upload, (req, res) => {
    let fileName = req.file.originalname;

    const params = {
        Bucket: process.env.AWS_BUCKET_NAME,
        Key: fileName,
        Body: req.file.buffer
    }

    s3.upload(params, (error, data) => {
        if (error) {
            res.status(500).send(error)
        }
        res.status(200).send(data)
    })
})
Let's test the upload functionality using postman, run the app, and select file to upload as mentioned above. You should get the below response
{
    "ETag": "\"db1def212705767215841ba43ea50926\"",
    "Location": "https://node-s3-demo.s3.amazonaws.com/image.png",
    "key": "image.png",
    "Key": "image.png",
    "Bucket": "node-s3-demo"
}
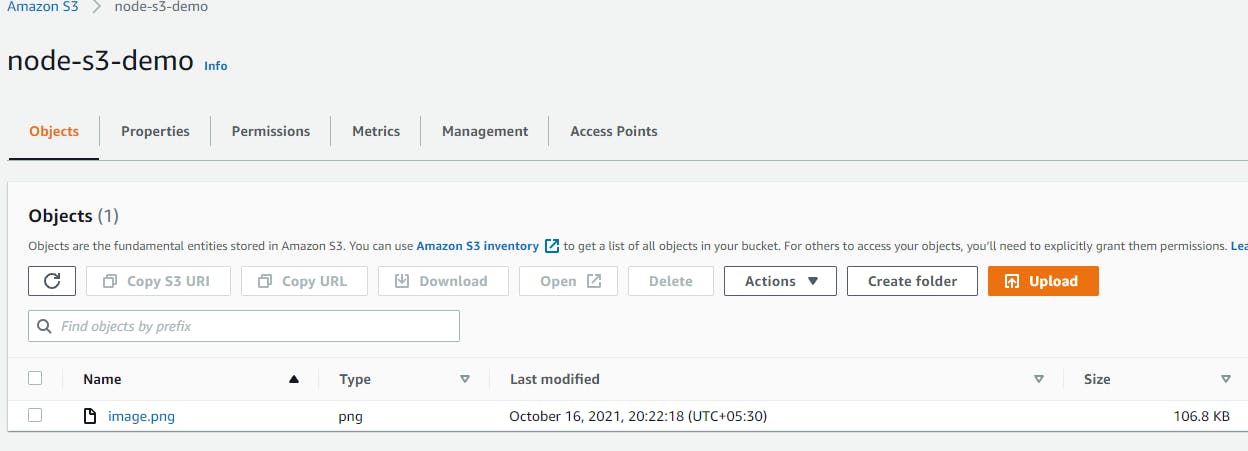
Now go to the AWS management console and click on bucket name, in our case node-s3-demo and verify the file is uploaded on the S3 bucket. You will see your uploaded file under the Objects section.
Conclusion
So, we have made a very simple node js application that uploads the files on the S3 bucket using the AWS-SDK package, you can do various things using this package like
- Create the bucket and set permissions
- List out the buckets and their objects
- Get or delete the objects
If you want to try these things, you can find the code on GitHub in this Gist